
Drill Point Ruler Instructions
** Official Guide from Locksdownunder.com.au **
Magnetic Drill Point Ruler: User Guide
Thank you for choosing the Magnetic Drill Point Ruler. This essential tool is designed to eliminate the struggle of transferring drill points, giving locksmiths and safe technicians accurate, hands-free control every time.
How to Mark Your Safe Perfectly
Precision starts with intelligence. Before you place the ruler, ensure you have the exact coordinates for the specific safe model you are working on.
Don't guess—download the official Drill Point Data Sheet from our library. Note your vertical (Up/Down) and horizontal (Left/Right) measurements.
Apply the magnetic side of the ruler directly onto the safe door or vault face. The powerful magnet holds it securely in place, freeing both of your hands for the next steps.
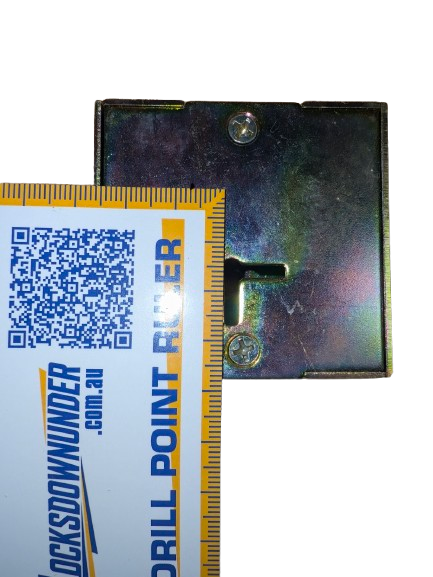
Secure magnetic attachment leaves hands free for tools.
The ruler acts as a coordinate plotter, allowing you to mark both measurements simultaneously without rotating the tool.
Example: Your drill point is 20mm Up and 4mm Left.
- Place the ruler on the Left side of your zero point (spindle/keyway).
- Slide the ruler vertically until the 20mm mark on the side edge aligns with the centre of your zero point.
- With the ruler held in place by the magnet, simply mark the 4mm spot along the top edge.
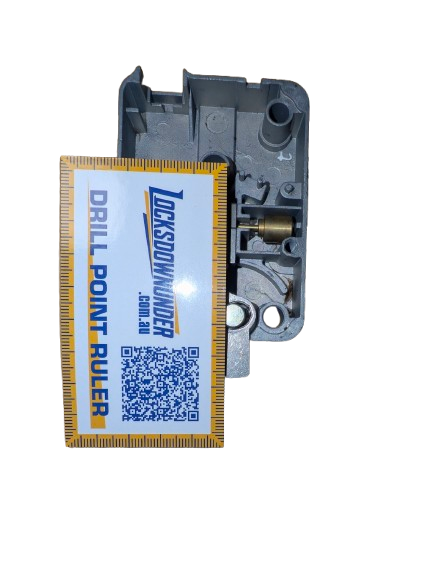
Align one axis with the zero point, mark the other axis on the edge.
With your crosshairs marked and the ruler held still by the magnet, you can confidently use your centre punch to mark the steel. Double-check your measurements against your downloaded data sheet, then drill with confidence.
Complete Your Toolkit
You have the ruler—now get the map. Browse our extensive library of safe opening data to find the exact drill points for your job.
Browse Drill Point Library